 Sunday Success Story
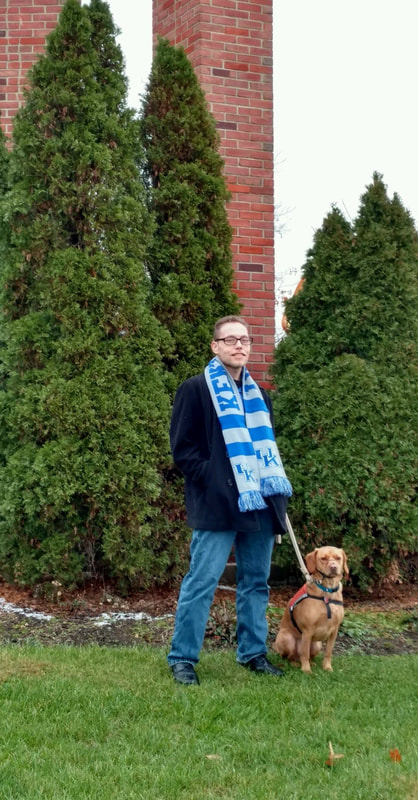
Andrew and DAD Rio My name is Andrew and this is my Sunday’s success Story. I’m 34 years old and have been a juvenile diabetic since I was 5 years old, 29 years of my life. As most of you reading my Sunday Success Story know this means I have given myself approximately 54,750 insulin injections and 63,510 finger pricks in my lifetime. All this to try to keep my diabetes under control. During my childhood years my mother kept me on track, but through my late teen years until my mid twenties I rebelled and didn’t take care of myself. My A1C was as high as 13.5. In 2014 I was researching Diabetic Service Dogs and came across the Freedom Paws organization. After researching this organization and talking to Tera, I decided this was the route for me to take in order to get my Diabetes under control. I started the process with Tera to fill out the proper documents and started fund raising for this new adventure I was about to take. When Tera had dogs available for me to train with I made my trip to Marysville, Ohio. Little did I know this would change my life forever. There I met Rio, my Diabetic Service Dog, my best friend and my life saver! I have had Rio almost 3 1/2 years and he has been such a blessing in my life. I cannot count how many times Rio has alerted me in 3 1/2 years. But my guess would be at least 2,500 times. Most of his alerts are telling me my blood Sugar is going up or down, but numerous times he has literally saved my life. Most of these alerts are late at night or while I’m sleeping and I would never know that my blood Sugar was dropping rapidly. The first year I had Rio my A1C dropped from 13.5 to somewhere around 11.0. Since then my A1C stays around 8.4. So he has helped my A1C go down 5 points. That in itself is amazing. Rio not only alerts me with low or high blood sugars but also gets my sugar machine and brings it to me and gets me a Coke when needed. Rio does not waver, he looks straight into my eyes, follows me around and does not leave my side until he knows I am back to normal. I don’t know what I would do without Rio! He’s not only a well trained Diabetic Service Dog but is and will always be my best friend and my hero! Thanks Tera and Freedom Paws for giving me this wonderful gift of freedom and independence that I would not have without Rio.
0 Comments
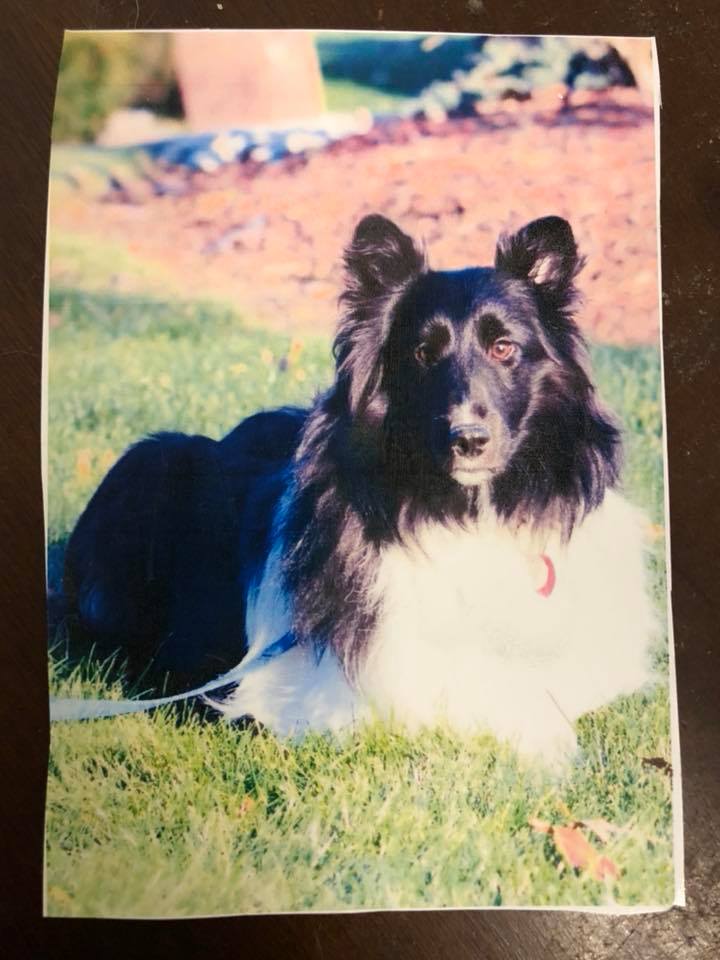 Suzanne and DAD Rion (Cullie)
Hi, from PA! Doing well with Rion{ now Cullie}. In six weeks my A1C went from 9.3 to 8.0. My endo was floored. He is now a true believer! Cullie is a detecting machine. He alerts 4-5 times a day, and is never more then 3 feet from me. Your talent, hard work, and compassion have produced a wonderful companion and guardian. Thank you for changing my life forever. 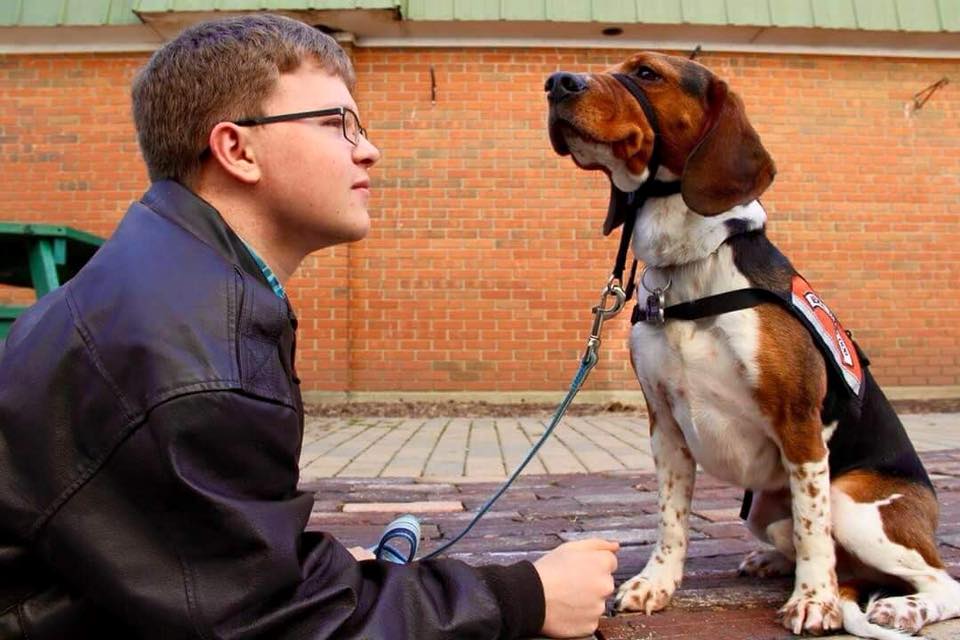 Success Story Sunday
Jacob and Diabetic Alert Dog Xach Mark and I got up and left at 5:30 in the morning. Jacob was left alone just him and Xach nothing new. I got a call from him at about 9 o'clock telling me he was OK which of course leads me to ask what the heck happened. Apparently sometime between 5 and 7: 30 he doesn't remember for certain but at some point Xach woke him up he realized he was low so he got up to go into the kitchen to have some sugar or some Maple syrup which ever he could find he remembers treating his low and then the next thing he remembers is waking up on the kitchen floor staring at the kitchen ceiling with Xach in his face licking him. If it had not been for Xach Jacob probably wouldn't have woken up we wouldn't have discovered him until we got home which was at almost 5 o'clock that evening. And by that point he would have been in a coma or dead. Xach is literally a life saver 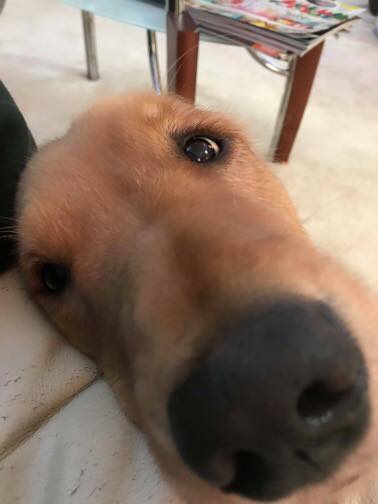 Success Story Sunday
Taylor and Service Dog Impulse Impulse and I have been a team for nearly 6 months, and I can’t imagine life with out him!! He has an Instagram which I post on fairly regularly @adventureswithimpulse but I wanted to call special attention to today’s post. I have fainted twice this morning, which would normally force me to have a family member come over because I’m too weak to get myself a drink and it’s too dangerous for me to get up by myself. But because of Impulse I don’t have to! I got you momma! Momma has fainted twice this morning 😣, but I’m here for her! I did my fainting response, fetched Gatorade 🥤, fetched her phone 📱, and I’m doing lots of deep pressure therapy! And my absolutely adorable face has to be making her feel better 😬. Service dogs aren’t just cute, we are life changing medical equipment.  Freedom Paws Assistance Dogs' Joey had to have emergency surgery on February 27, 2014 to remove 8 inches of his small intestines. Joey has recovered quickly, but Freedom Paws is currently trying to pay for his vet bills for his emergency surgery. https://www.indiegogo.com/projects/joey-s-funds-assistance-dog-in-training/
In the last few weeks I have been testing Bolt for Search and Rescue work. A big part of the testing is playing the "Hide and Seek" game. This reminded how important this game is to building a strong recall. For beginners you will need someone to help you. Have the other person hold your dog get very excited and let the dog watch you go hide. Once in hiding call the dog. As soon as the dog finds you give it a big reward. If the dog can't find you, call its name every now and then. The goal is to make the game as fun as possible. Once the dog is able to find you while watching have the other person cover the dog's eyes. Run and hide and call the dog. Big reward once the dog finds you. Eventually you can make the searches tougher and tougher. Make sure it's always fun for the dog, and don't over do it. Doing these searches will increase the dog's drive to come to you. To wrap this blog up remember to make the first searches simple, then begin make the searches more difficult.
Last weeks post went over charging the clicker. Now that the clicker is charged, we can begin using it in our training sessions. The first thing I teach with the clicker when I get a new dog in, is teaching an applied leave it. A lot of the time the dogs I work with our strays that had to scavenge for food. So it is necessary to teach the applied leave it, so they can begin living in a house environment. The things you need for the applied leave it is a clicker, kibble, and high value treats. Begin by clicking when ever the dog gives you eye contact and rewarding with the high value treat. Then throw a piece of kibble on the floor, make sure the leash is tight so the dog can't get to it. As soon as the dog looks at you click and reward. Keep throwing one piece of kibble on the floor until the dog stops lunging at the food and remains focused on you. Once this happens throw a handful of food on the floor. If the dog remains focused slowly walk towards the food. The next goal is to have the dog walk over the food with out eating it. So if the dog goes after the food as you begin walking towards the food make a loud sound to distract the dog. As soon as the dog gives you eye contact click and reward. As soon as you can walk over the food pile with out the dog lunging at the food you can begin slowly work on basic commands while near the food pile. The hardest command is down so you may want to do this command with only one kibble on the floor or do it farther away from the food. In summary when you teaching the leave it, do not use any words you want an implied leave it. Work slowly from one kibble to an entire pile of food. The below video shows how to introduce leave it. The dog in the video is Gandolph he was rescued from a high kill shelter and now in training to be a service dog. Happy New Years! This week's blog post will be on how to "charge" the clicker. You may be asking what is a clicker. A clicker is a dog training tool that lets out a clicking sound when you push it. Why would you want to use a clicker? Clicker's are consistent they always let out the same sound and they are fast to use, which are two very important parts of dog training timing and consistency. The clicker is used to mark positive behaviors, or behaviors that you want to train. The first step to properly use the clicker is to "charge" it. What is "charging." This is what you do to make the clicker an effective tool for training. The first step in "charging" the clicker is to click and follow it with a treat. You are going to do the entire first session of this. The first half of the second session you want to continue with the click and treat. Half way through the session begin to ask the dog a basic command that the dog knows well. As soon as the dog does the command click and treat. Do this for the rest of the session. The third session go ahead and start with click and treat, then add in the basic command click and treat. Half way through the session add in the final step of "charging" the clicker, which is teaching the dog a simple new behavior. For this stage I like to teach the dog to back off a treat that is in your hand. To teach this you hold a treat tightly in your hand, the dog will probably go after, do not allow the dog to get the treat. As soon as the dog backs away from the treat click and treat the dog. Now the clicker is "charged." To recap this weeks blog a clicker is a training tool that is used to enhance timing and consistency. The clicker must be "charged" properly in three sessions to be used effectively. Happy Holidays!!! Last week I discussed the first steps of teaching your dog body awareness. First, we discussed doing ladder exercises, which builds the dogs body awareness. Next, we went over the steps on how to teach the dog how to "back." First we taught the dog the body mechanics needed, then we taught initiation, finally we added distance. This week I will be discussing how to teach the dog how to move with handler and to be aware of the handler. When I teach body awareness of the handler I really like to do figure eight exercises. I like to set up two cones to figure eight around. When you begin you may notice that when the dog is inside it is bumping into your leg, and when the dog is on the outside it is going wide. So when the dog is bumping into you, don't move away from the dog. Make sure you continue moving in the same direction, you may need to use your knee to bump into the dog. Eventually the dog will learn that they need to pay attention to your body and where you are moving. As soon as you begin noticing the dog move its body to stay in position with you, make sure you mark it and give lots of praise. Now that you have the inside positioning figured out you can begin working on the outside. When your dog is starting to go wide, take off running in a straight line toward the other cone. Once the dog has caught up to you give it lots of praise. This is a type of surprise correction, and it will teach the dog to pay attention to you. When you are doing the figure eight make sure you the handler are moving freely and the dog is moving with you at a correct position. The next step in teaching body awareness is teaching your dog side passing. Teaching side passing can be pretty tricky, but once you have you will see a big difference in your dog's body awareness. To teach it you need a heeling stick (can be found in any dog training catalog), and yummy dog treats or kibble. You want to have the dog's leash in your right hand and around your back and the training stick in your left hand. You want to lightly tap on the dog's back hock as you slowly move sideways. As soon as your dog moves his back legs and front legs at the same time stop and praise with treats. Slowly keep working on this eventually add more steps so the dog can begin to get the mechanics needed for the side pass. Once you have the dog moving 5 ft comfortably you can stop using the heeling stick. When you take away the heeling stick you may need to ask for less maybe one step. Then slowly add more distance. Once you have taught this to your dog you will notice the dog paying a lot of attention to your body movements. A recap on this week's blog, figure eight exercise make sure you aren't moving around the dog, the dog should be paying attention to and should be positioning it's body around you. With side passes you need to slowly build the dog's body mechanics then begin to add distance. Below is two videos demonstrating side passes. Now that your dog no longer pulls, you may still have problems with the dog bumping into you or getting into your personal space. I like to train all of my dogs especially the Assistance Dogs in training body awareness. The first thing I do is teach the dog how to walk through a ladder. I place the ladder next to a wall and slowly walk the dog through it. This teaches the dog how to focus on lifting their front legs , and their back legs. Once the dog has mastered the ladder, I teach the dog how to back up. To do this I make a narrow area, have the dog face me then I slowly walk into the dog. At first only have the dog to take 1-2 steps backwards. Give lots of praise for these steps. Slowly ask your dog dog take more and more steps. Eventually the dog should be able to move 10-12 ft backwards smoothly. Eventually you want to move to an open area. Start out the same way as the narrow area, only ask for 1-2 steps. Then ask for the dog to take more and more steps, this process will go a lot quicker since the dog all ready has the body mechanics. Next step, you want to train initiation. Initiation is where your dog will jump and start backing up right when you command "back." To train this, when you say back go ahead a move into the dog quickly. Do this several times your dog will start jumping and moving backwards right when you command "back." If your dog is slower you can even lightly step on their front paws. Eventually you can even look for distance, where you stand still and the dog continues to back up. To train this you want to have a toy or treat (with the Assistance Dogs in Training I only use toys since I don't want the dog to learn how to eat off the ground). Hold the toy/treat behind your back, command "back" once the dog backs a couple of steps backwards toss the toy/treat behind the dog and praise. Next time ask for the few more steps, and toss toy/treat behind the dog. Eventually the dog will continuously back up looking for you to throw the toy/treat. Below is a video of the finished product. This blog is the beginnings of teaching your dog body awareness. Remember it is important to first to teach your dog slowly the body mechanics of how to back up. Then add initiation, finally add distance. Next week's blog will be more on body awareness. Thank you for reading! |
AuthorTera Jurrens founder and executive director. Archives
February 2018
Categories |
 RSS Feed